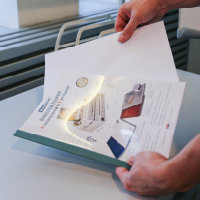
In this system the thermo cover is ready for use. Inserts are glued inside cover using special equipment called thermo binders.
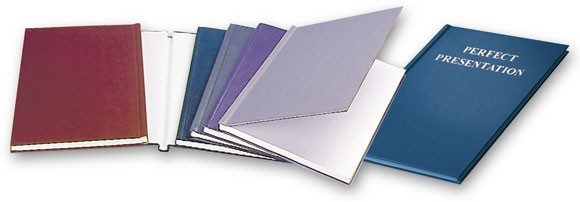
Spine of the thermo cover is filled with glue, which melts when the temperature rises. Paper sheets under the influence of their own weight sink into the glue. After the process is finished the adhesive harden forming a very solid bond.
The TERBIND system’s hard covers (O.DIPLOMAT) spines are equipped with metal strips which conduct temperature very well allowing even melting of the adhesive. Also allows you to use induction thermo binders.
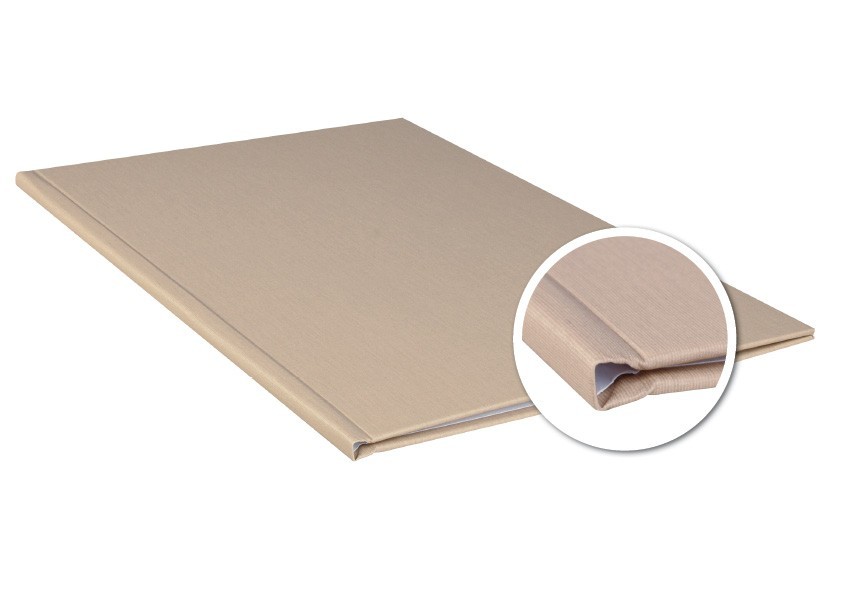

Hard cover binding using O.DIPLOMAT.

The transparent front cover made of PVC material enhances the colors of the first page of your documentation and protects it against damage and dirt. The back cover is made of cardboard with texture (THERMOLINEN, O.OFFICE) or plain (O.THERMOLUX, O.THERMOMAT).
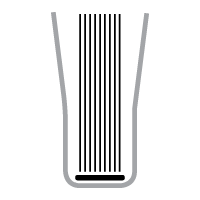
The front and back cover is made of high quality cardboard with a linen structure (THERMOLINEN PLAIN).
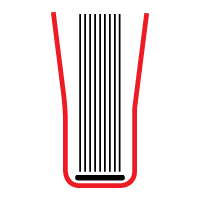
Custom made covers made of cardboard printed in offset technology according to customer design (O.THERMOPERSONAL).
Spine selection for O.THERMOTOP soft thermo covers.
|
3 mm spine  This cover will allow you to bind up to 20 sheets of paper* |
5 mm spine  This cover will allow you to bind up to 40 sheets of paper* |
7 mm spine  This cover will allow you to bind up to 60 sheets of paper* |
|
9 mm spine  This cover will allow you to bind up to 80 sheets of paper* |
12 mm spine  This cover will allow you to bind up to 100 sheets of paper* |
15 mm spine  This cover will allow you to bind up to 120 sheets of paper* |
*tests were made on 80 g/m2 paper, however, the values may vary ± 10% depending on the paper fluffing.
Spine selection for soft thermo covers (except O.THERMOTOP).
|
mini (1.5 mm) spine  This cover will allow you to bind up to 15 sheets of paper* |
3 mm spine  This cover will allow you to bind up to 30 sheets of paper* |
4 mm spine  This cover will allow you to bind up to 40 sheets of paper* |
|
6 mm spine  This cover will allow you to bind up to 60 sheets of paper* |
8 mm spine  This cover will allow you to bind up to 80 sheets of paper* |
10 mm spine  This cover will allow you to bind up to 100 sheets of paper* |
|
12 mm spine  This cover will allow you to bind up to 120 sheets of paper* |
15 mm spine  This cover will allow you to bind up to 150 sheets of paper* |
20 mm spine  This cover will allow you to bind up to 200 sheets of paper* |
|
25 mm spine  This cover will allow you to bind up to 250 sheets of paper* |
30 mm spine  This cover will allow you to bind up to 300 sheets of paper* |
35 mm spine  This cover will allow you to bind up to 350 sheets of paper* |
|
40 mm spine  This cover will allow you to bind up to 400 sheets of paper* |
45 mm spine  This cover will allow you to bind up to 450 sheets of paper* |
50 mm spine  This cover will allow you to bind up to 500 sheets of paper* |
*tests were made on 80 g/m2 paper, however, the values may vary ± 10% depending on the paper fluffing.
Spine selection for O.DIPLOMAT hard thermo covers
|
Spine size 3  This cover will allow you to bind up to 15 sheets of paper* |
Spine size 6  This cover will allow you to bind up to 40 sheets of paper* |
Spine size 9  This cover will allow you to bind up to 65 sheets of paper* |
Spine size 12  This cover will allow you to bind up to 90 sheets of paper* |
|
Spine size 15  This cover will allow you to bind up to 120 sheets of paper* |
Spine size 18  This cover will allow you to bind up to 150 sheets of paper* |
Spine size 21  This cover will allow you to bind up to 180 sheets of paper* |
Spine size 25  This cover will allow you to bind up to 220 sheets of paper* |
|
Spine size 30  This cover will allow you to bind up to 270 sheets of paper* |
Spine size 35  This cover will allow you to bind up to 320 sheets of paper* |
*tests were made on 80 g/m2 paper, however, the values may vary ± 10% depending on the paper fluffing.
|
Step 1 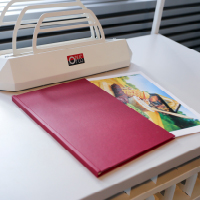 Prepare for the binding: documents and covers with a properly chosen spine. |
Step 2 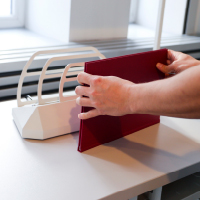 Align the document file and insert it between the covers. |
Step 3 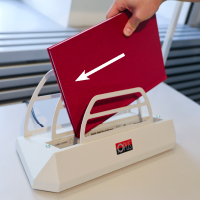 Insert the cover into the thermo binder with the spine pointing downwards and wait for the recommended amount of time. |
Ready! 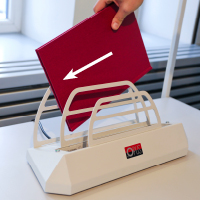 Put the document on the special tray so that the adhesive harden forming a very solid bond and documentation is ready! |
The binding process example is shown with the OPUS DUO Vario Temp equipment.
Unfortunately the TERBIND system does not allow for debinding of covers. Once glued the covers can not be separated. However, you can heat up the glue to re-bind the sheets that have not been correctly bound.
Tip 1.
After switching on the thermo binder (the power switch is located on the back of the device), for about 2 seconds the green or blue LED will light up indicating that the device is set to:
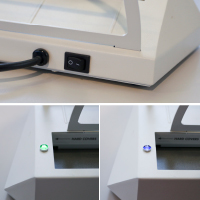
Then the heating process of heating plate will begin which will be preceded by a short beep and the LED indicators will light up in red. At this time do not put covers in the binding slot (if you do the device signals the necessity of pulling it out with a sound signal and a pulsating light of the corresponding LED indicator). After a few minutes the heating plate reaches the appropriate temperature which will be signaled by the color change of both LED indicators to green (for 145°C setting) or blue (for 120°C setting) and a short double beep signals.
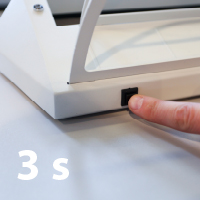
The operating mode of the device (mode 1 – 145°C or mode 2 – 120°C) can be changed by holding down the operating mode button (located at the back of the device) for approximately 3 seconds. Each time the button is pressed will switch from one mode to another. The switching of modes is confirmed by a short lighting of the LED indicators in the corresponding color and after reaching the correct heater temperature a double beep signal. You can also change the operating mode during and after warming up of the device.
The cover with aligned sheets should be inserted into the working slot with the spine pointing downwards in accordance with the description on the device:
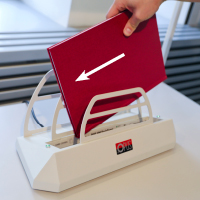
The appropriate LED indicator will change color from green or blue to red and you will hear a short beep – the thermo binding process will start. After the proper time (depending of binding) you will hear few beeps and the appropriate LED indicator will start to flash green or blue – the thermo binding process will be ended.
Tip 2.
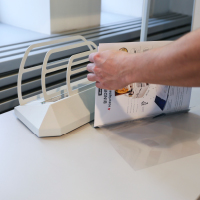
To avoid electrostatic surface charge at the transparent cover open the transparent front cover then align the sheets of paper and place it in the cover so that all the sheets are evenly in contact with the adhesive strip located inside the spine of the cover. Now you have to place the whole in the thermo binder.
Tip 3.
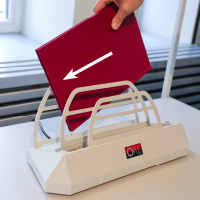
After the successful binding process remove the bound document and hit it with a flat surface so that all the cards are embedded in the glue. Then place the document on a cooling rack on the top of the machine. After few minutes the document is ready.
Tip 4.
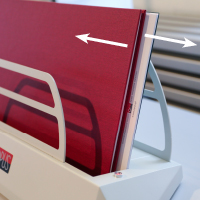
The DUO 500 VarioTemp equipment allows the simultaneous binding of two documents (one in the hard cover and one in soft cover). Both covers have to be in the same mode (mode 1 – 145°C). Insert the hard cover and push it to the left side and insert the soft cover and push it to the right side of the working slot. The ending of the binding is signaled by the pulsing of the corresponding LED indicator and the beep signal.
Tip 5.
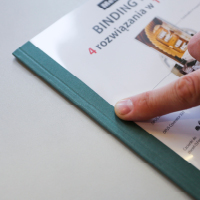
Cooled down soft cover can be easily open along a creasing.
Tip 6.
If we bind the documentation it may happen that single sheets are not correctly bound. In this case, it is necessary to go through the thermo binding process step by step again to correct binding.
